

Laravel is an open-source PHP framework built on the MVC pattern — designed to make web apps faster and easier to build. When it comes to deployment, shared cPanel hosting is the most affordable option for small-scale businesses and side projects. This guide walks you through deploying a production-ready Laravel 8 app on cPanel using GitHub for version control.
Prerequisites
- PHP 7.3 or above
- Composer installed locally
- VS Code (or any code editor)
- XAMPP for local development
- GitHub account
- cPanel hosting account
Phase 1
Creating & configuring the Laravel 8 application locally
Step 1 — Create a new Laravel project
composer create-project laravel/laravel my-app
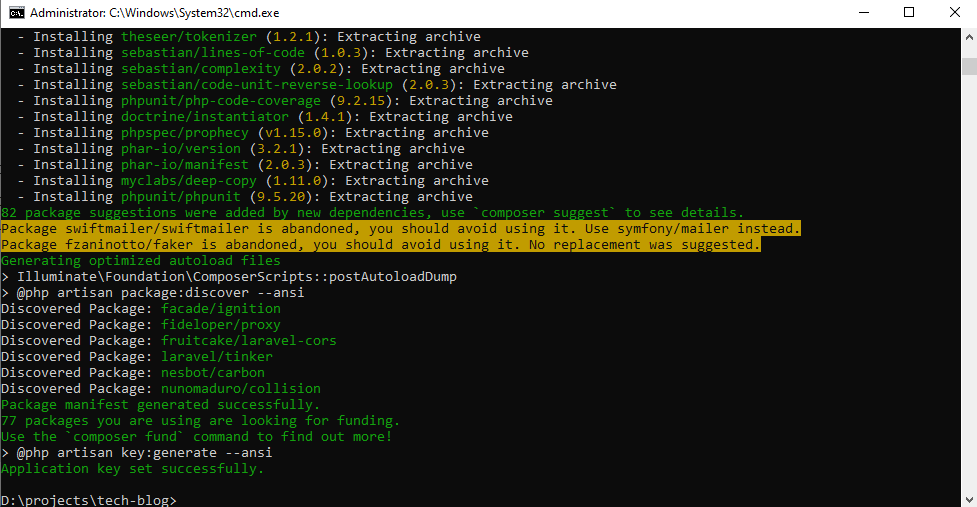
Your Laravel project is created. Now configure it for local development.
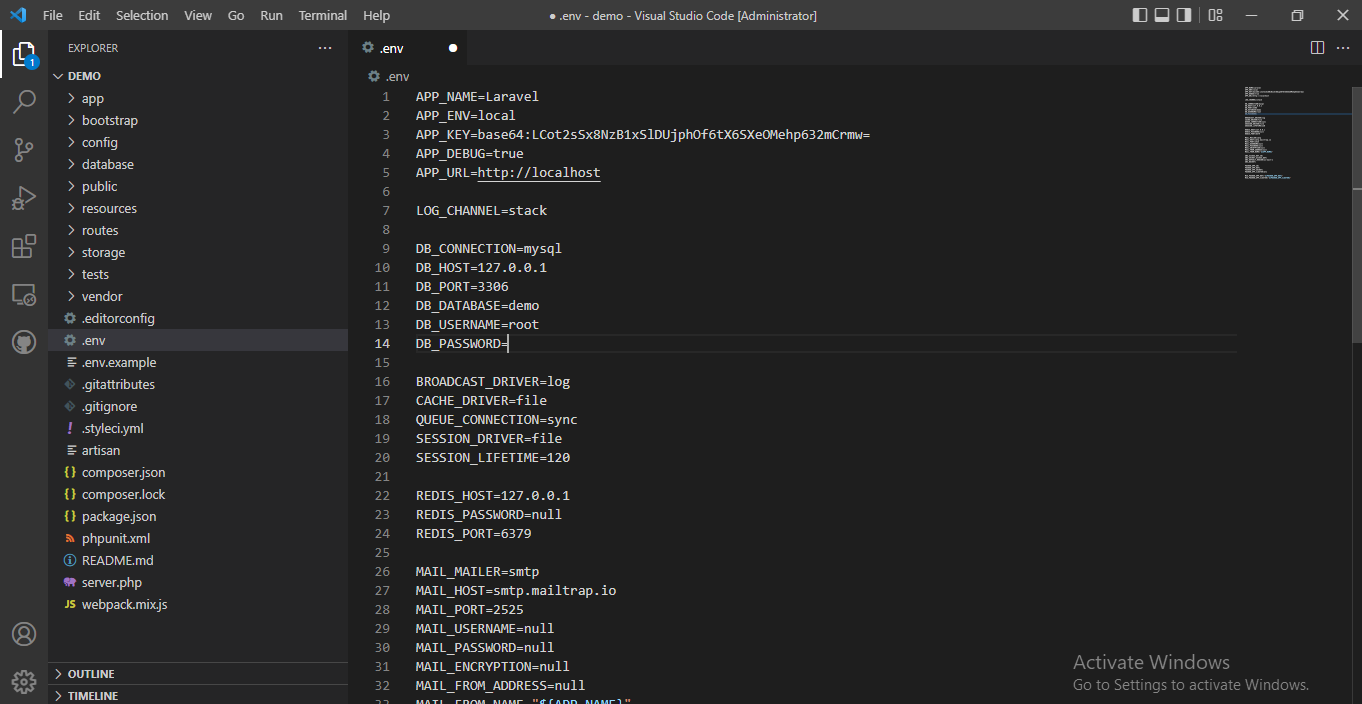
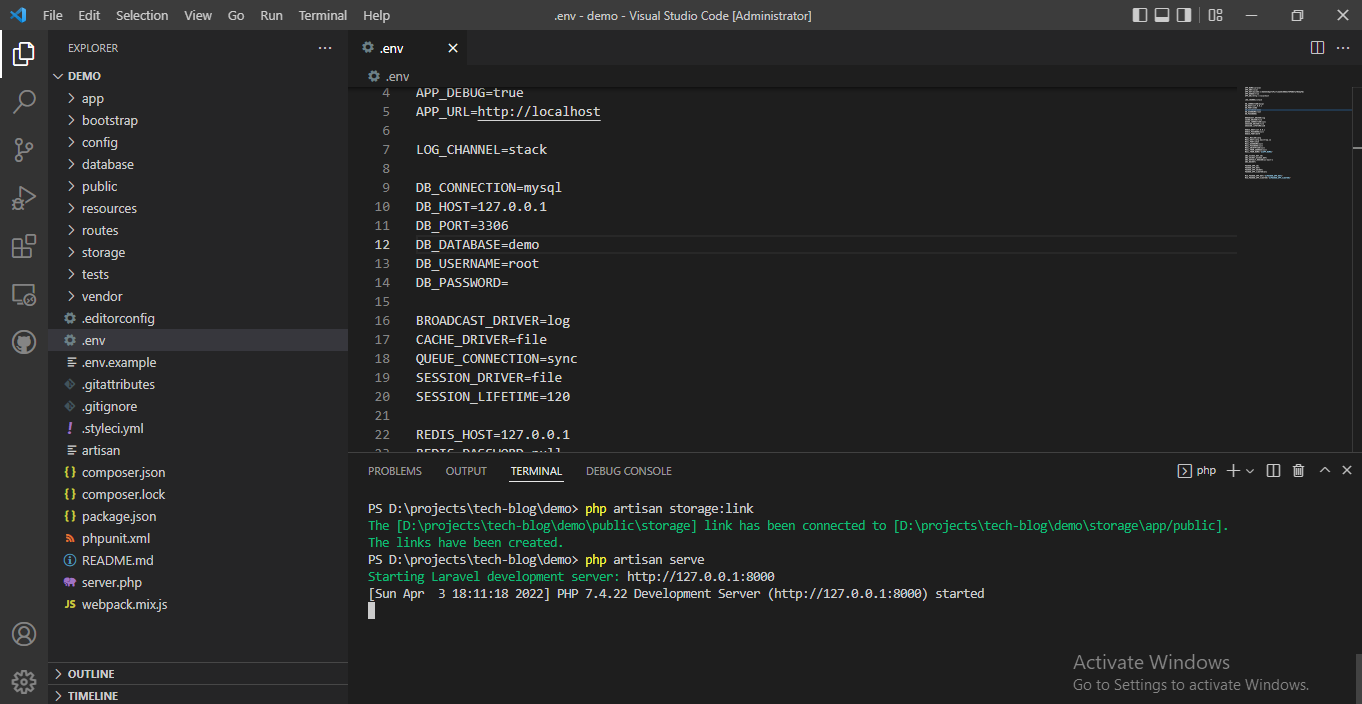
Step 2 — Configure the .env file
Open the .env file in your project root and fill in your database credentials, third-party API keys, and mail settings.
Run the following artisan commands to set up your local environment:
php artisan migrate
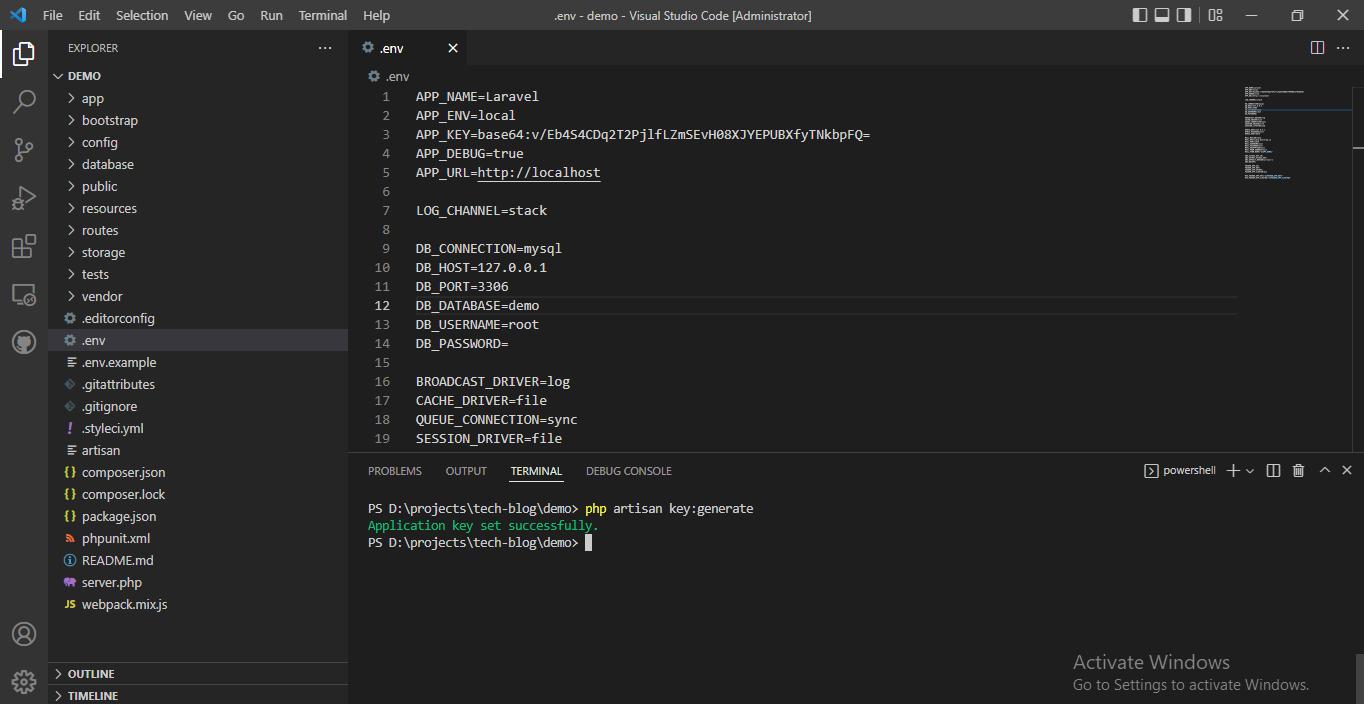
php artisan key:generate
php artisan storage:link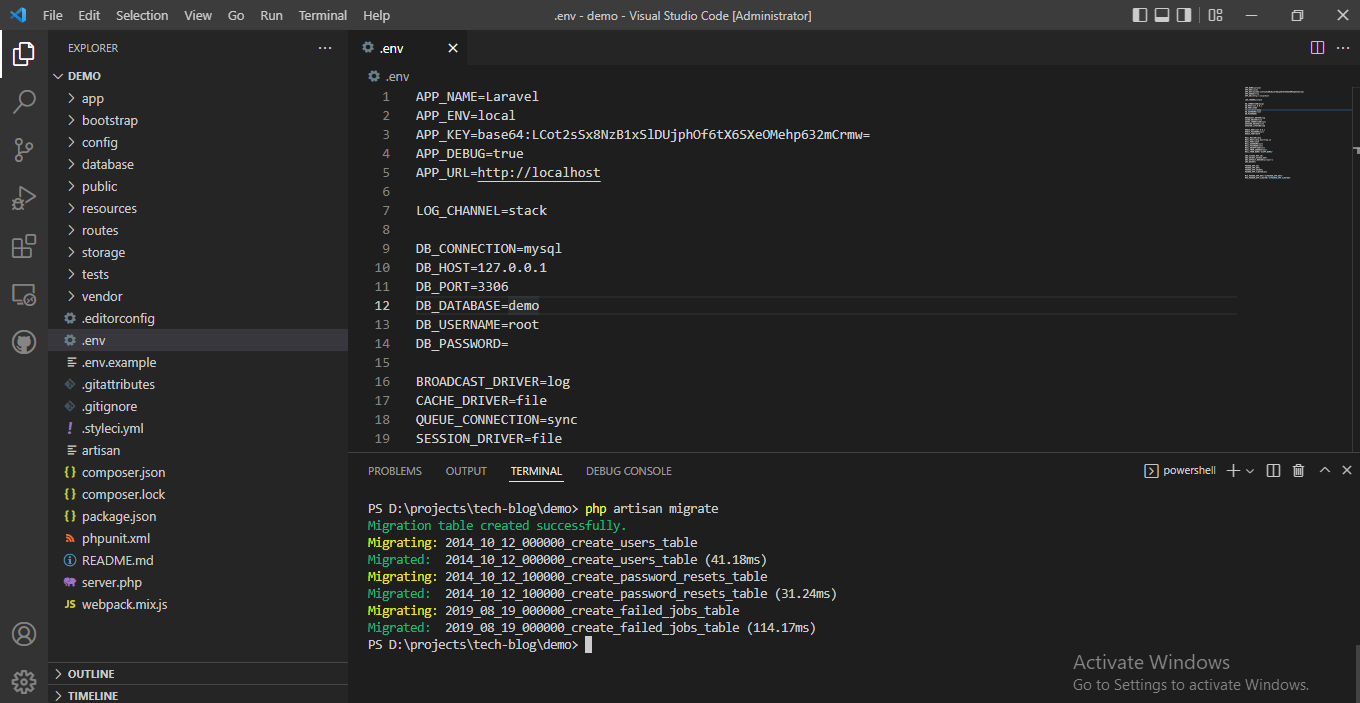

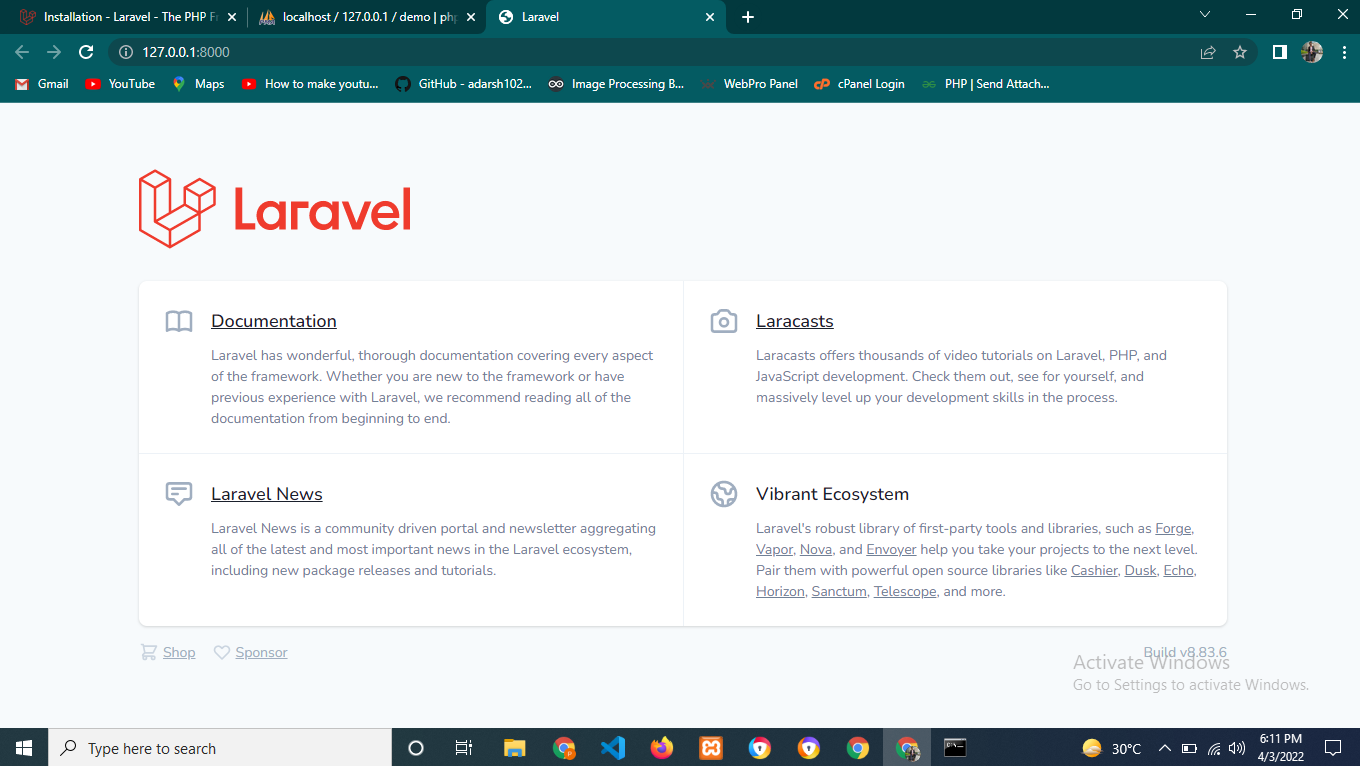
Step 3 — Test locally with php artisan serve
php artisan serveOpen the URL shown in your terminal (usually http://127.0.0.1:8000) to verify the app is working.
Phase 2
Pushing the project to a GitHub repository
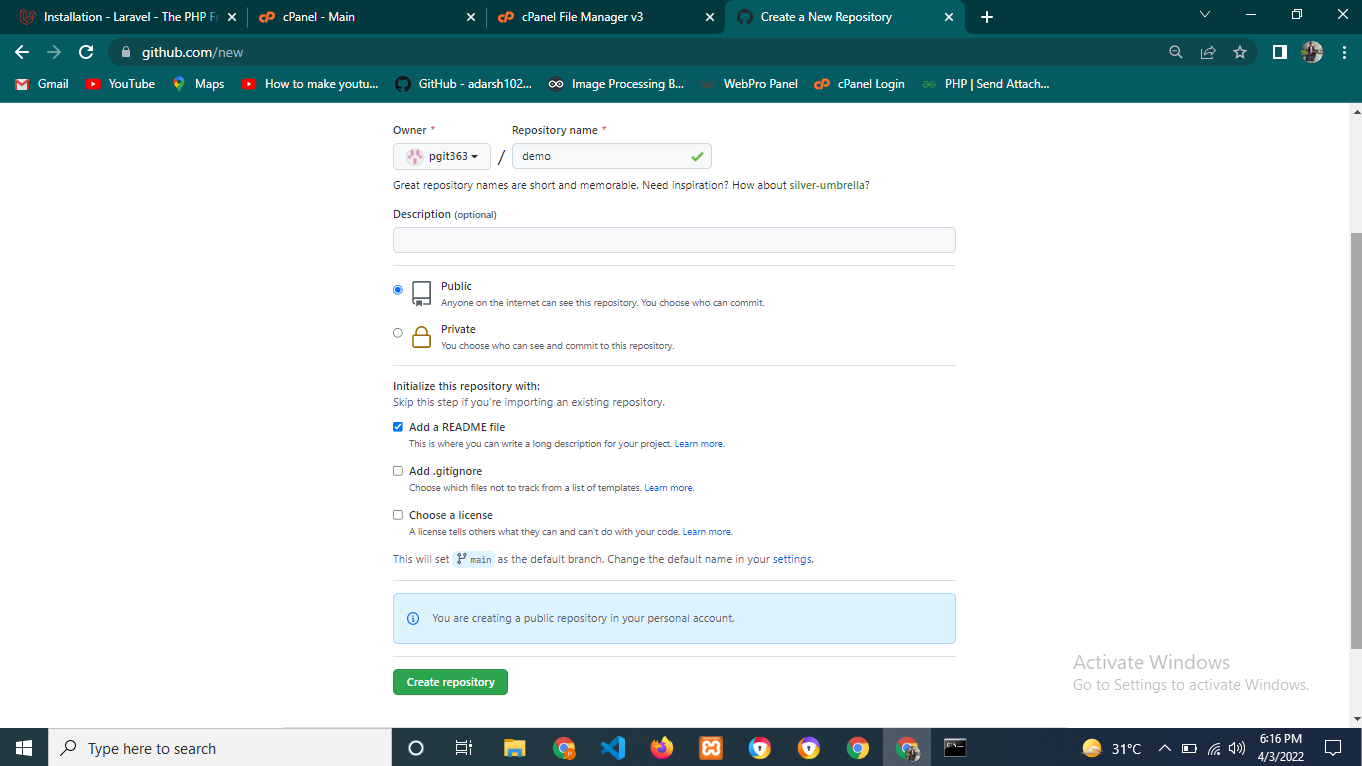
Step 1 — Create a public GitHub repository
Step 2 — Copy the clone URL and initialize Git locally
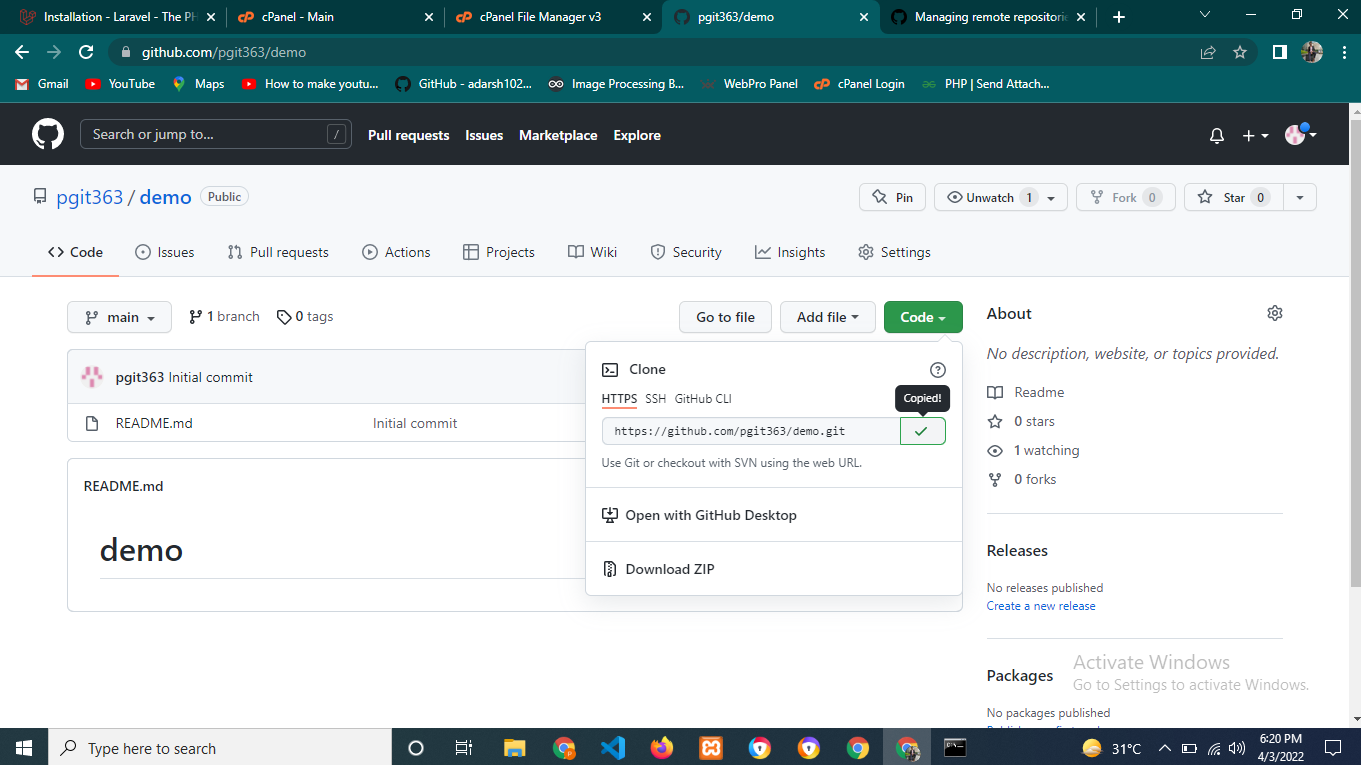
Navigate to your project root in the terminal and run:
git init
git remote add origin <YOUR_REPOSITORY_URL>
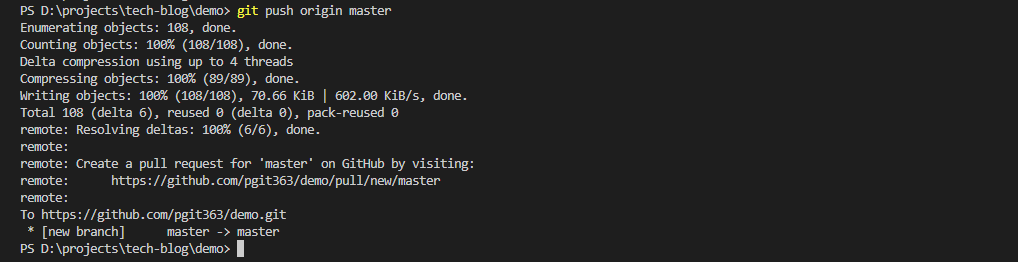
git statusThen commit and push your code:
git add .
git commit -m "Initial commit"
git push origin main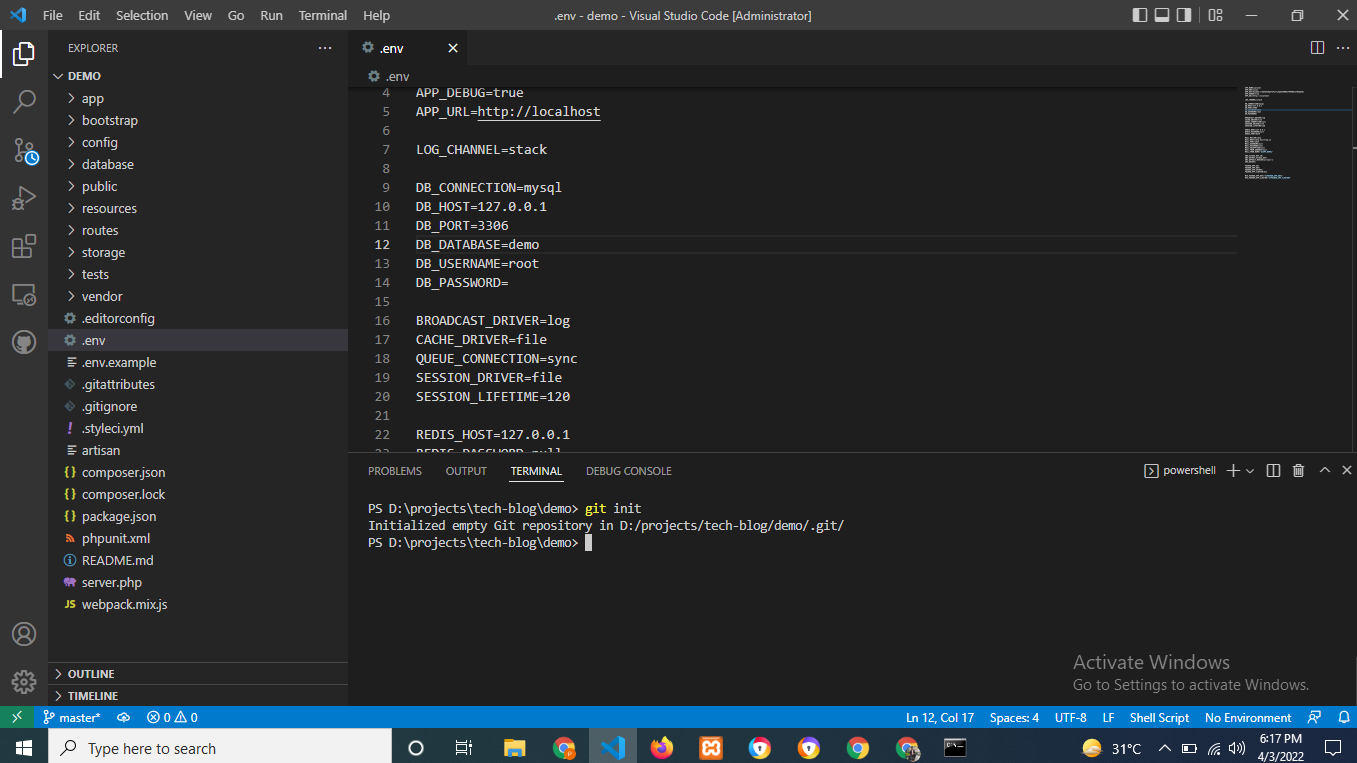


Phase 3
Configuring the domain and deploying via cPanel
Where to buy cPanel hosting
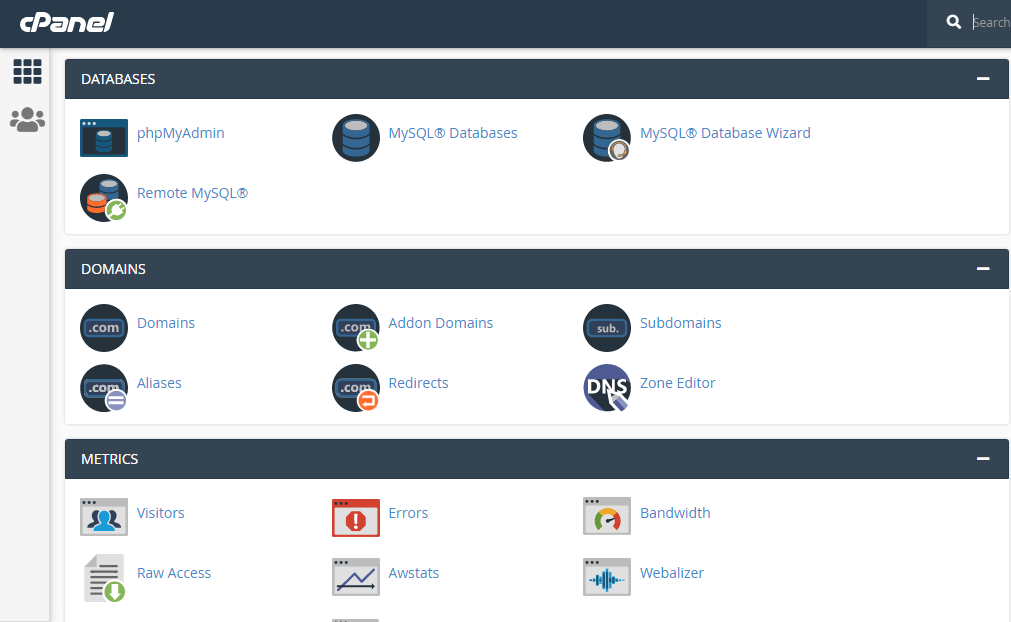
Step 1 — Log in to cPanel

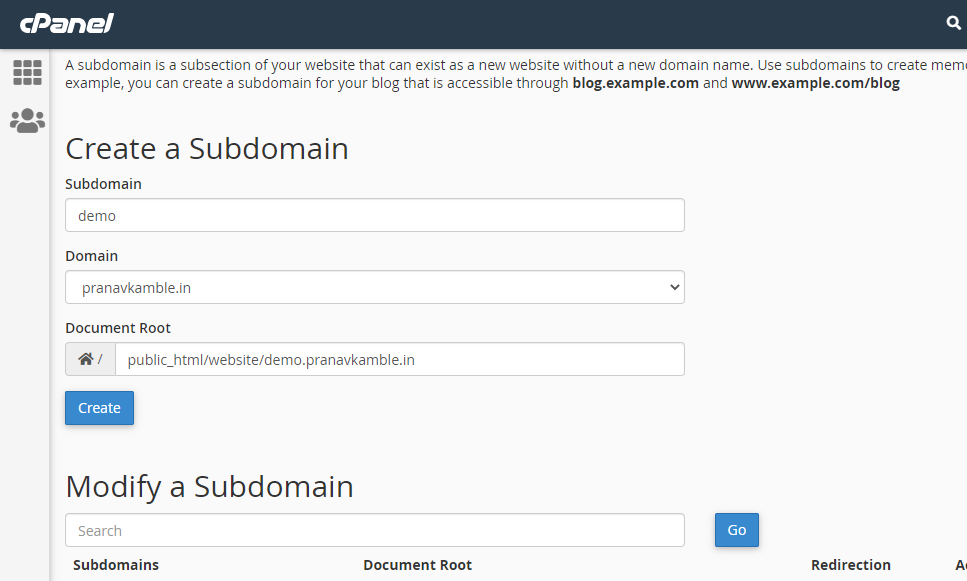
Step 2 — Create a domain or subdomain
Go to Domains → Subdomains (or Addon Domains) and fill in:
- Subdomain name
- Domain name
- Subdomain root directory
Then click Create.

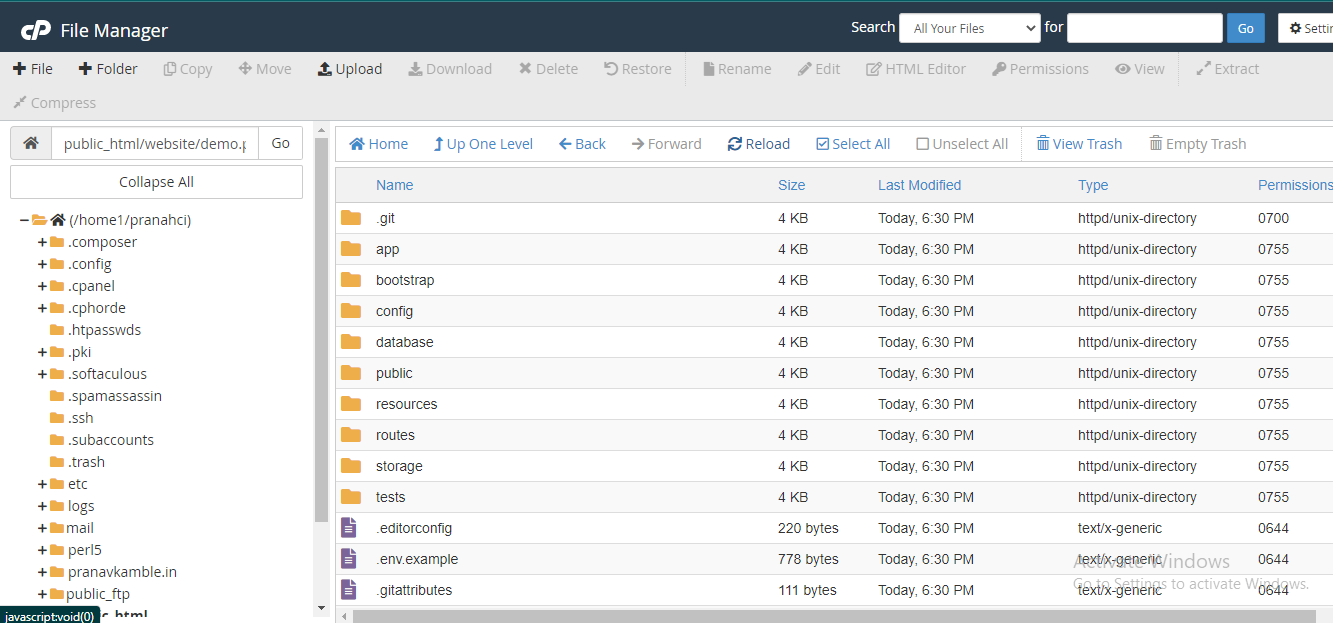
Verify the folder was created in File Manager.

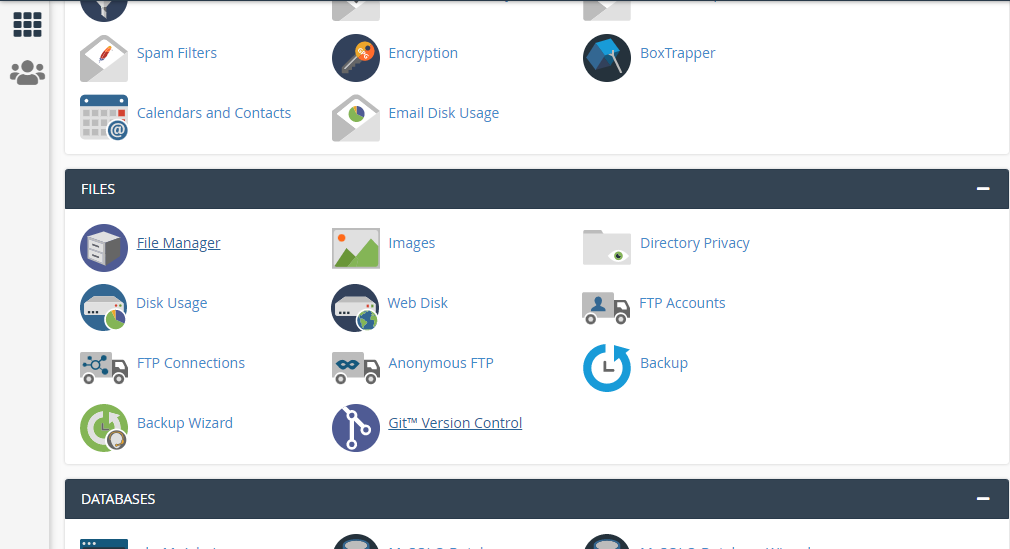
Step 3 — Connect your GitHub repo via Git Version Control
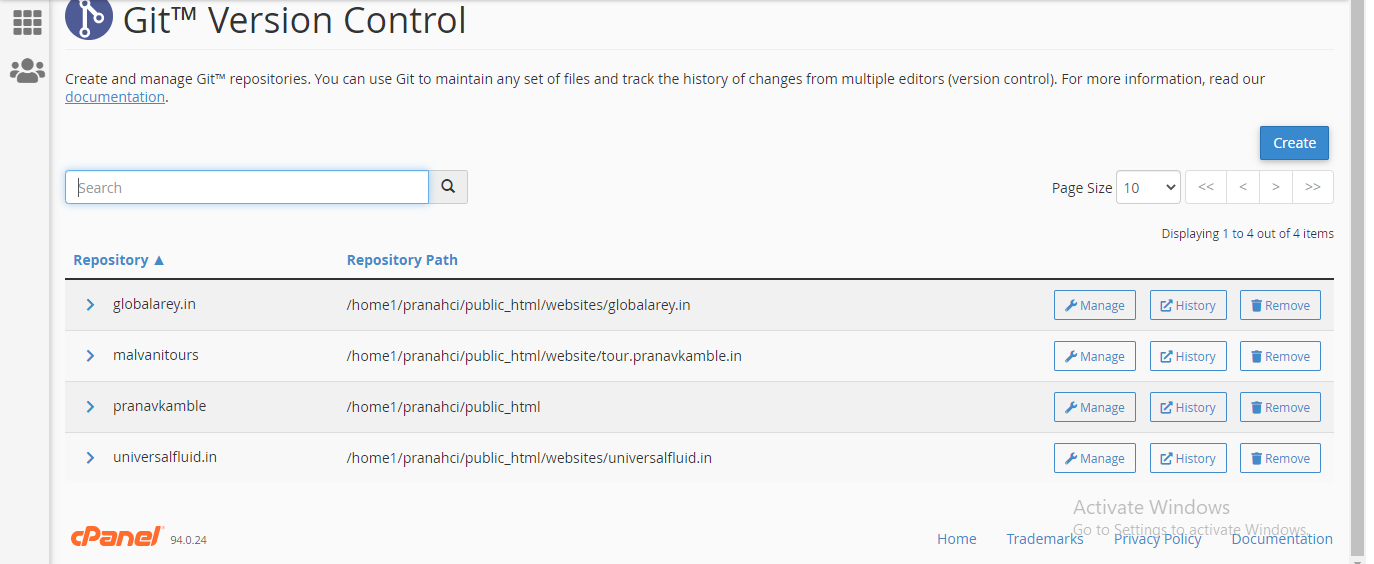
In cPanel, find Git™ Version Control and click Create:
- Paste your GitHub clone URL into the Clone URL field
- Select the subdomain root directory as the repository path
- Give the repository a name
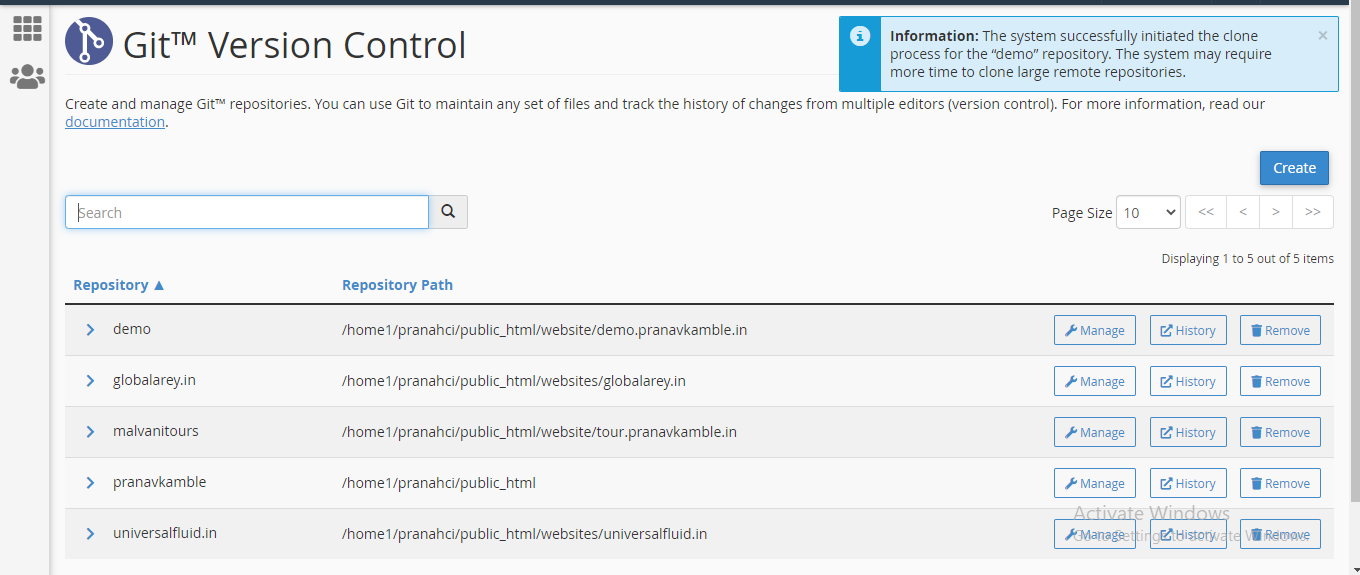
- Click Create

Verify your subdomain directory is now linked to the GitHub repo.
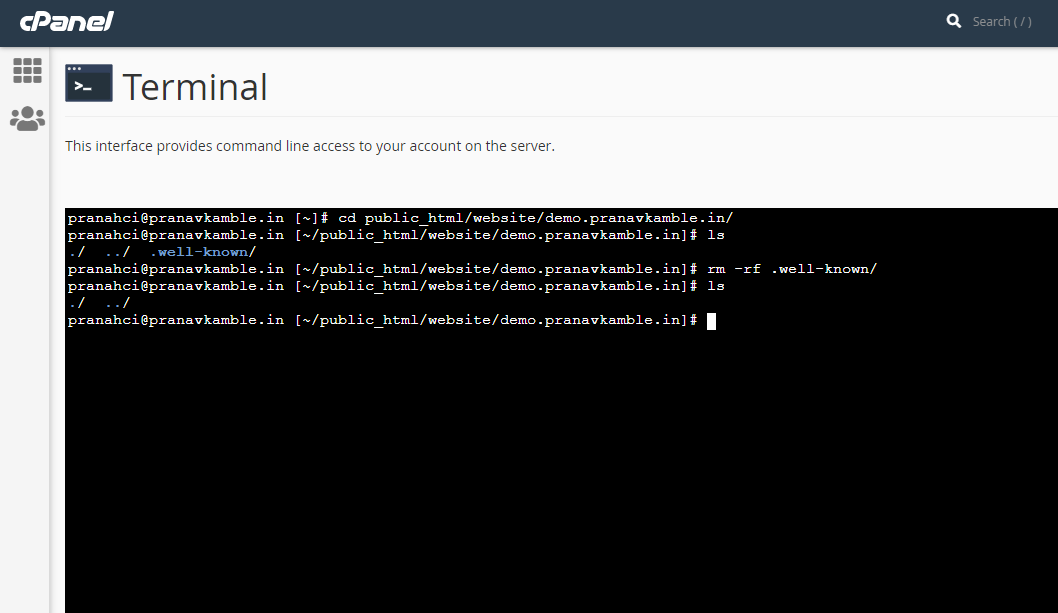
Step 4 — Clear the directory and pull from GitHub
Open the cPanel Terminal, navigate to the subdomain root, and clear it:
cd ~/public_html/your-subdomain
rm -rf *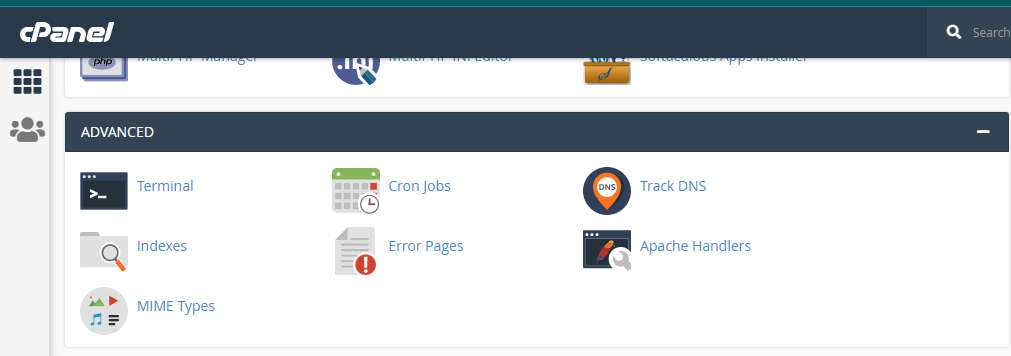
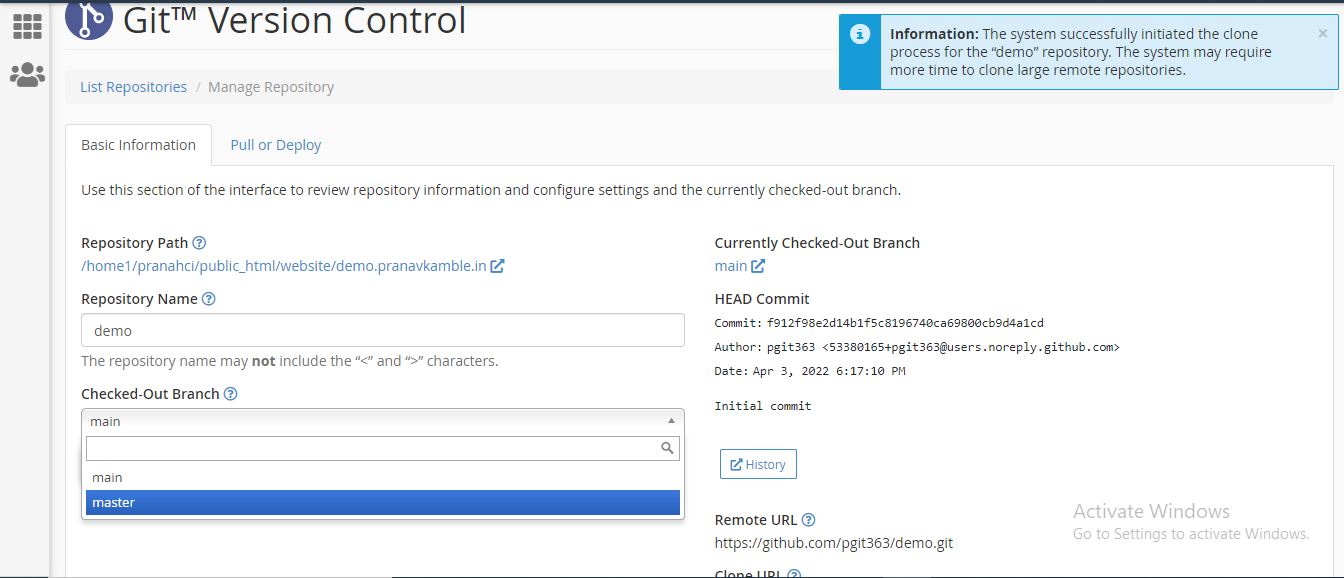
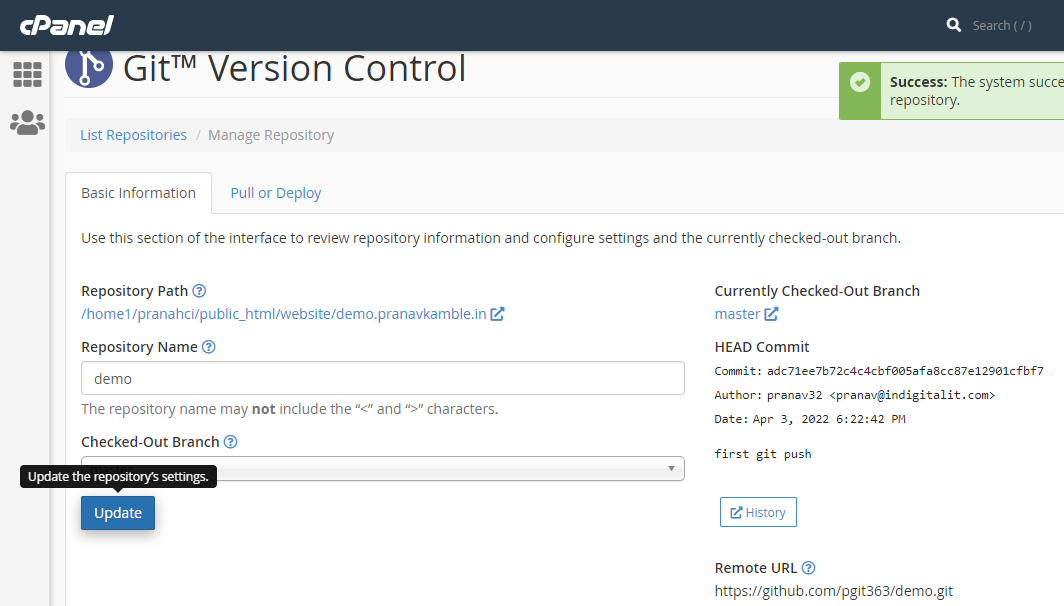
Go back to Git Version Control → Manage → Pull or Deploy, set your branch, and click Update from Remote.
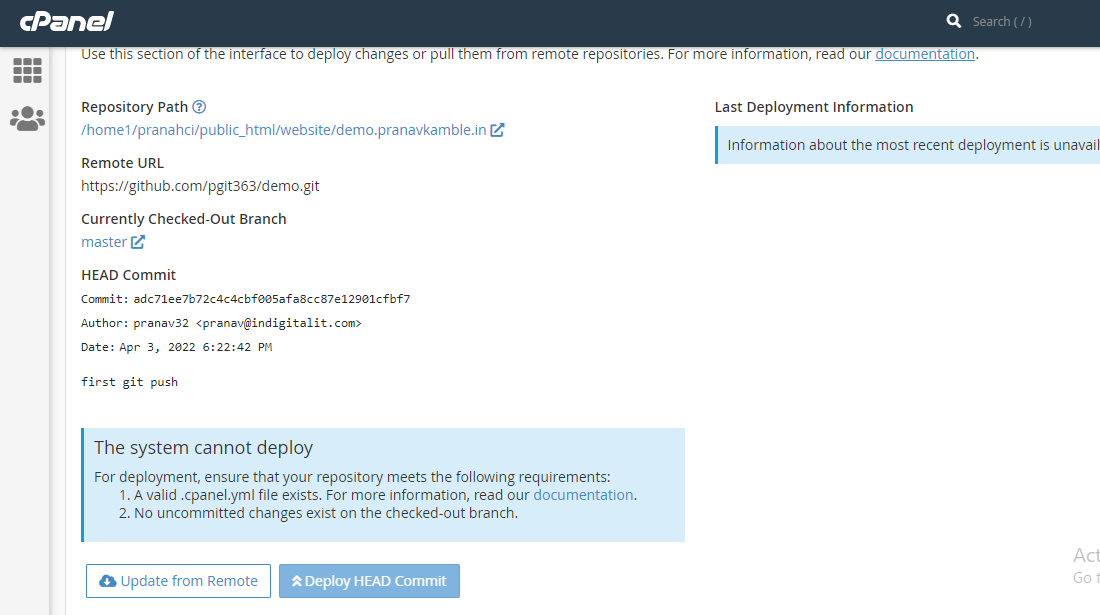
Verify the repo files are now in the File Manager.
Step 5 — Set the document root to Laravel's public/ directory
Go to Domains, find your subdomain, click the path, and change the document root to your-subdomain/public. This is the secure approach — your application code stays outside the web root.

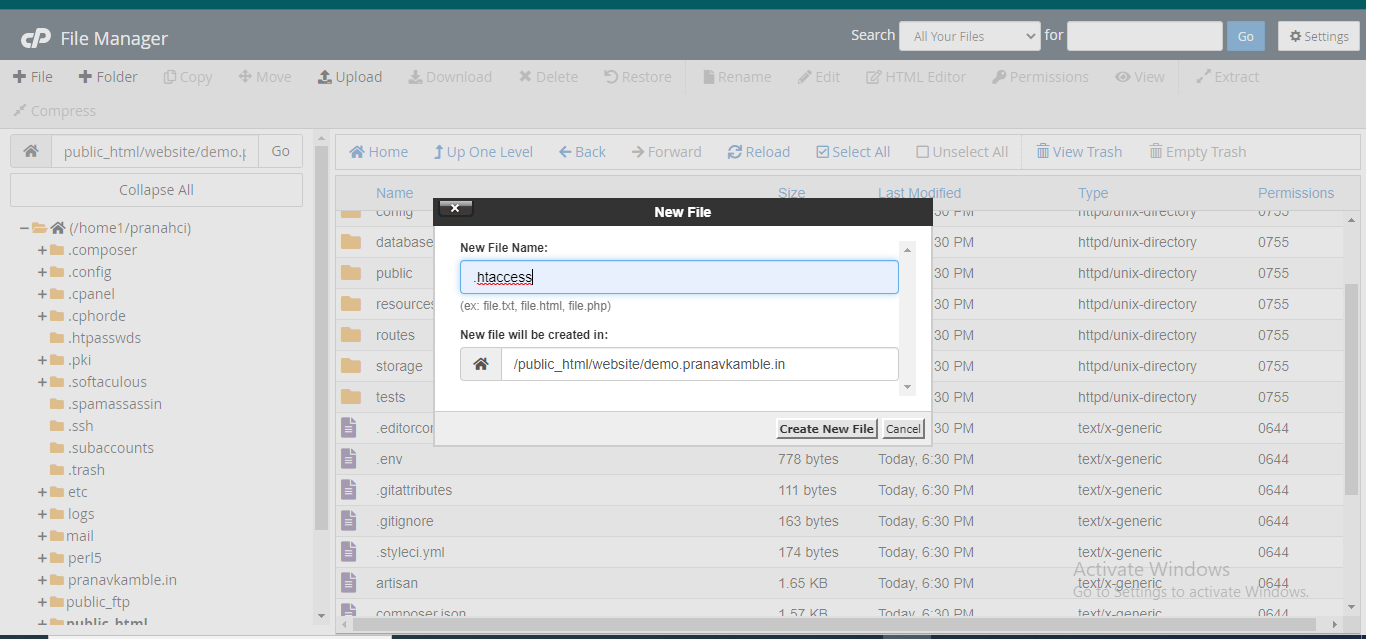
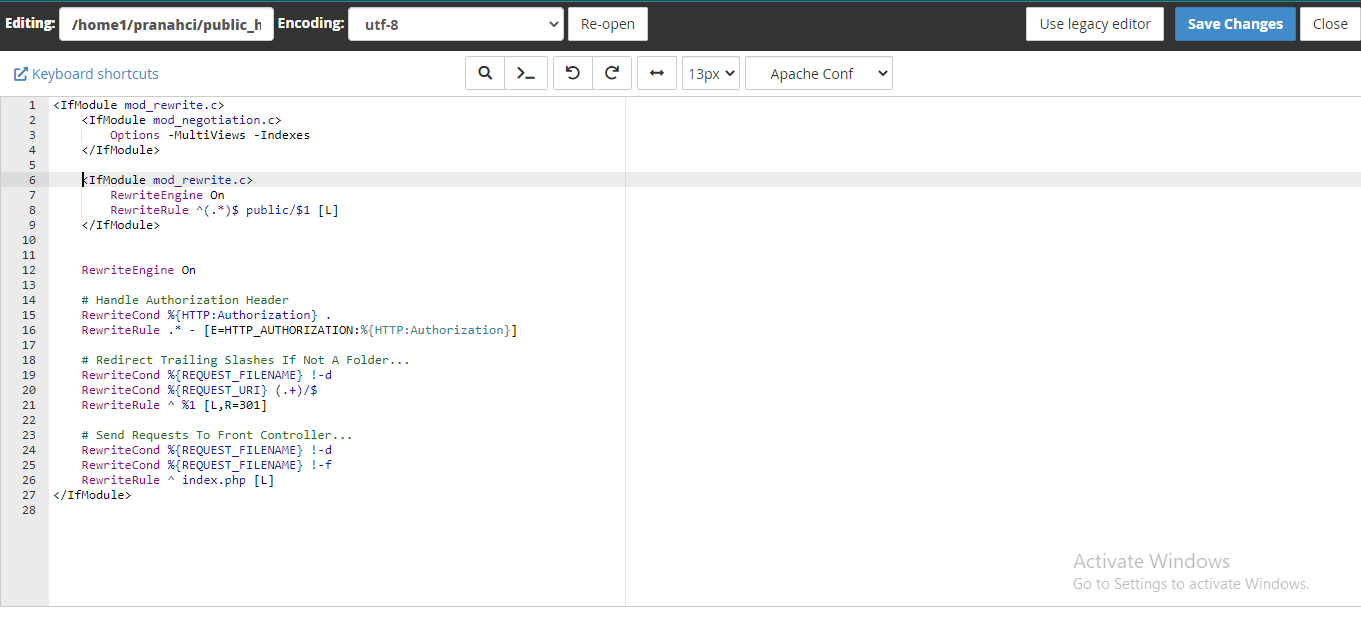
Alternatively you can add a redirect in a root-level .htaccess file, but this exposes your application files to the web and creates security risks. Avoid unless your cPanel version doesn't support changing the document root.
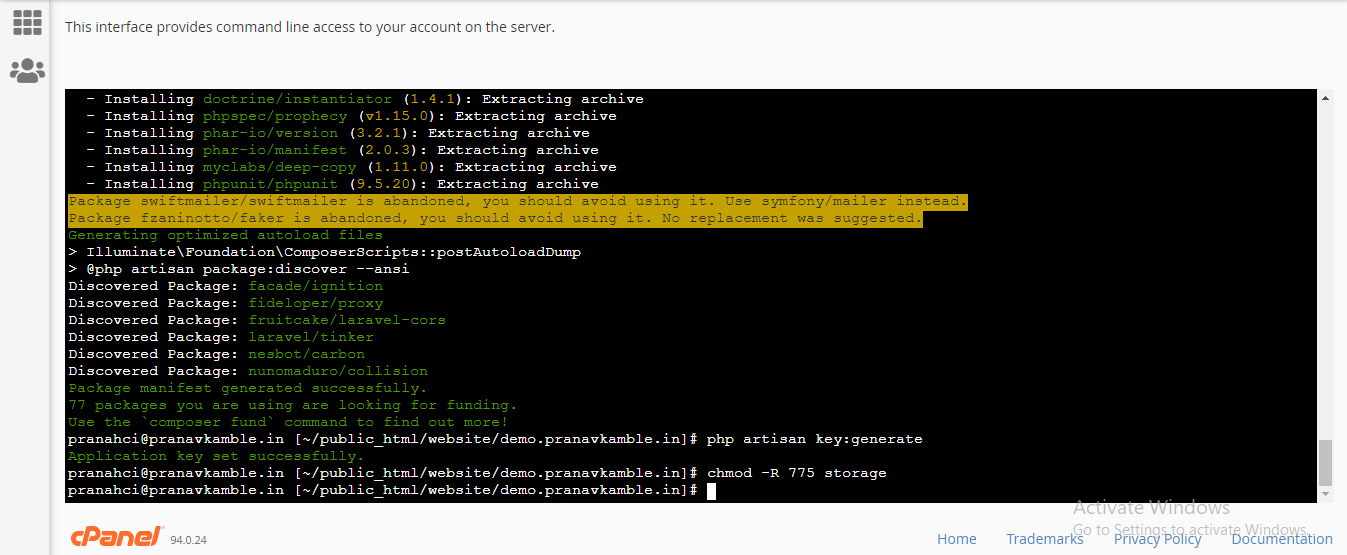
Step 6 — Final configuration in cPanel Terminal
Navigate to the subdomain root and run:
composer install --ignore-platform-reqs
php artisan key:generate
chmod -R 775 storage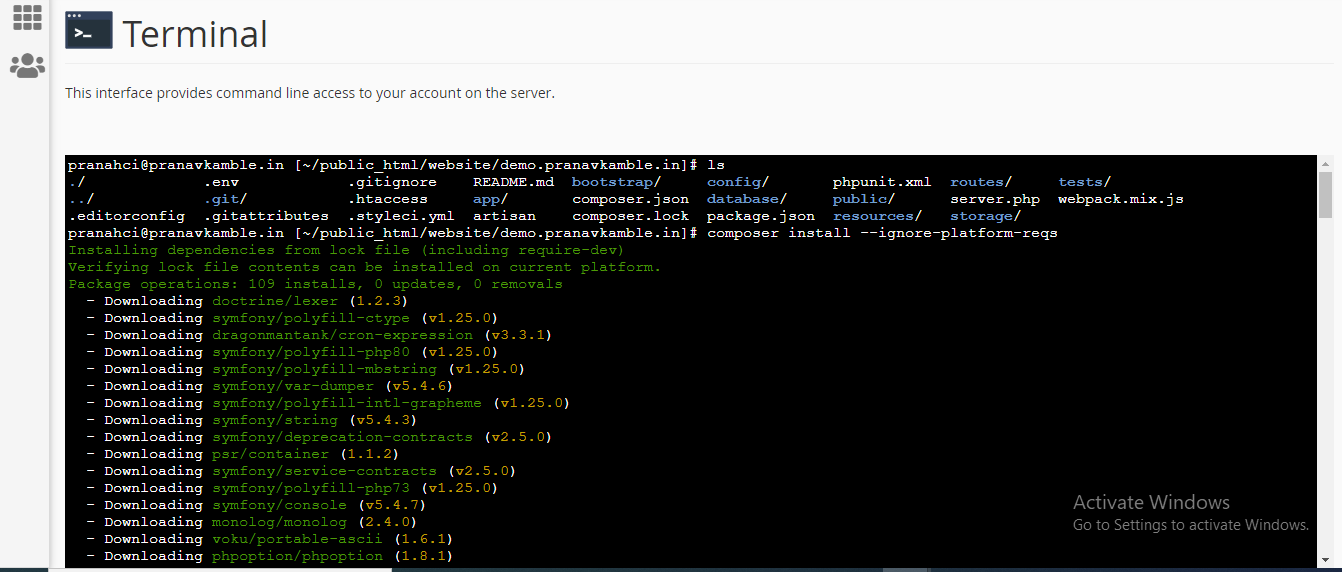
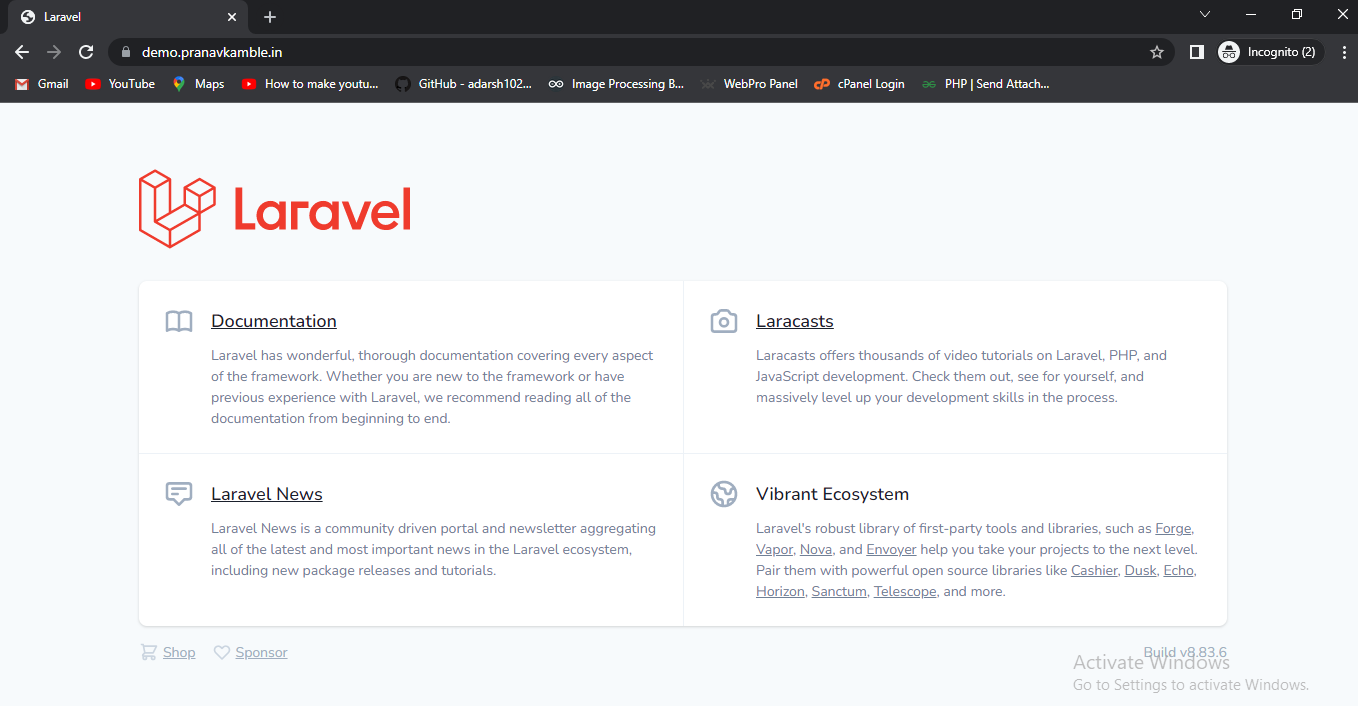
Now open your domain or subdomain URL in a browser:
Quick Reference
Local Setup
composer create-projectphp artisan migratephp artisan key:generatephp artisan storage:link
GitHub Push
git initgit remote add origin <url>git add . && git commitgit push origin main
cPanel Deploy
composer install --ignore-platform-reqsphp artisan key:generatechmod -R 775 storage